By WCGT summer Garden Program Coordinator Elizabeth Schultz, showing the project she directed at the June 21 Mondays at Melton program


Looking for a simple, fun activity to do with kids? Look no further! The Green Team organized the following planting activity for children at our first Mondays at Melton youth series, and it is easy to replicate at home. Follow the steps below, and in just a few days you will have a jar person with edible cress hair that can be cut and enjoyed in soups, salads, sandwiches, and more!
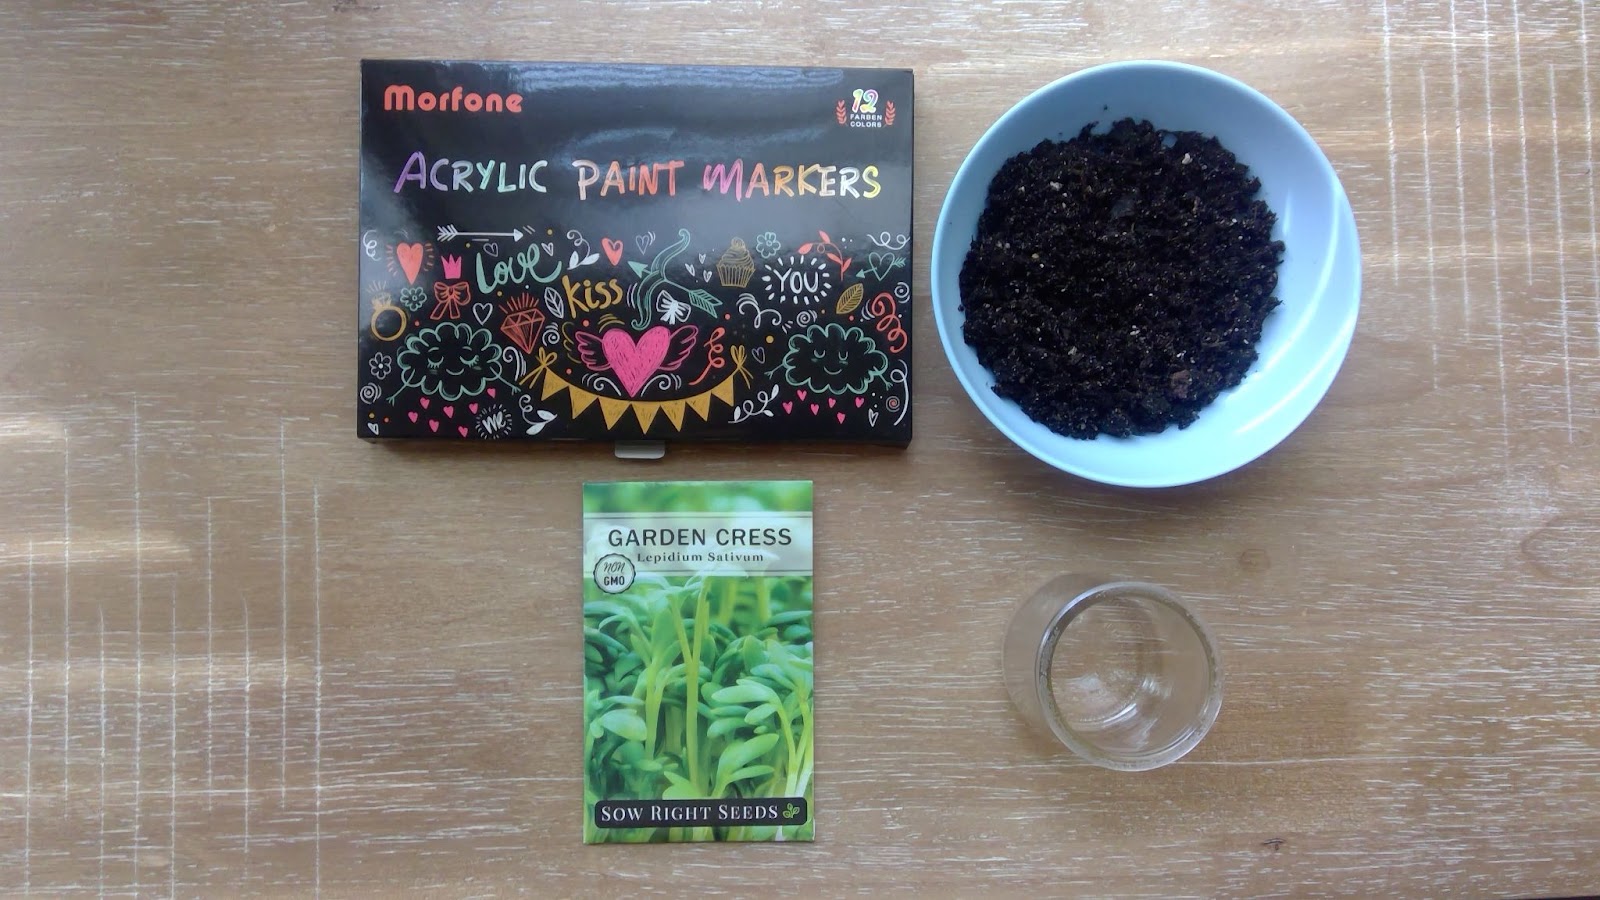
Materials Required:
- Glass Jar (We used an upcycled 5oz Oui yogurt jar)
- Soil
- Garden Cress Seeds
- Glass Painting/Decorating Materials
Directions:
- Step 1: After gathering your materials, start by decorating your jar with whatever craft materials you have on hand. Our kids enjoyed working with paint markers and googly-eyes to make their jar faces really stand out.
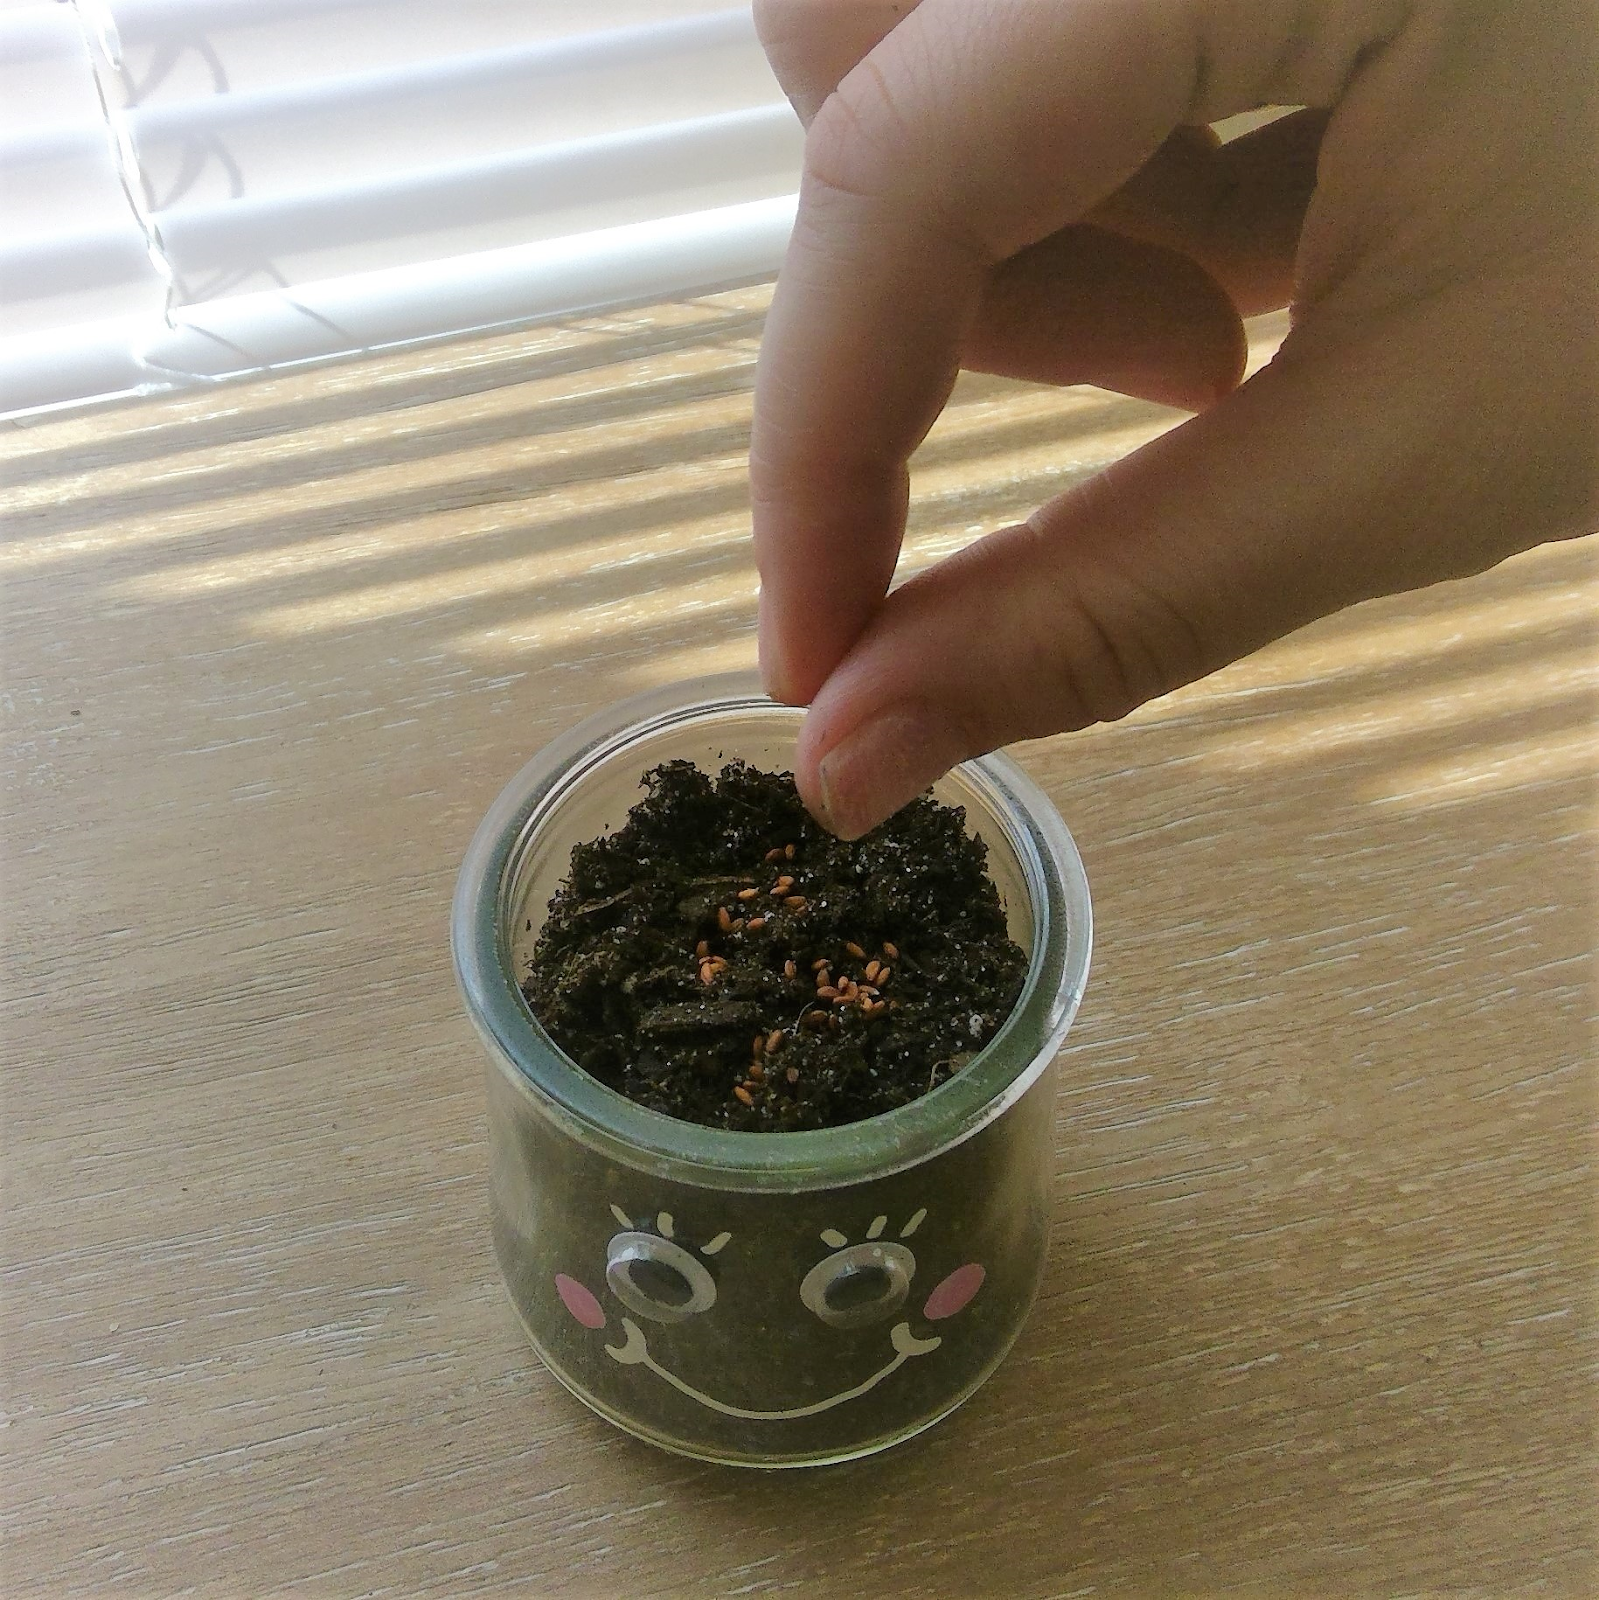
- Step 2: Once your jar has a lively face, fill it almost to the brim with organic soil or dirt.
- Step 3: Sprinkle a pinch of your garden cress seeds over the top of the dirt.
- Step 4: Spoon a small amount of soil over the seeds until they are all lightly buried. Keep seeds shallow at about ¼” planting depth.
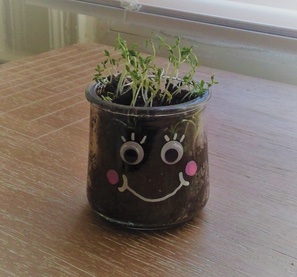
- Step 5: Wet the soil with a little bit of water, place the jar on a windowsill, and wait. Garden cress is extremely quick to sprout and low-maintenance (making it great for impatient kids). You should see cress growing within 2-5 days!
In a week or less, your cress shoots will be 1½-2” tall and ready to harvest. You can cut the stalks off at the base and use the greens to add a peppery tang to your next dish. To learn more about garden cress and how you can use it in your kitchen, read here.

One response to “Edible Cress Hair Project”
[…] Here’s what our June 21 activity with Elizabeth Schultz will look like (a few days after the cress seeds are planted in decorated pots; for our detailed instructions on making your own, see here): […]
LikeLike